
Introduction
When it comes to maintaining your bathroom, it’s essential to know how to remove a shower drain cover. Over time, these covers can accumulate dirt, hair, and debris, leading to clogs and unpleasant odors. By regularly removing the shower drain cover and cleaning it, you can ensure proper water drainage and prevent potential plumbing issues. In this article, Portishead plumbing will provide you with a step-by-step guide on how to remove a shower drain cover effectively.
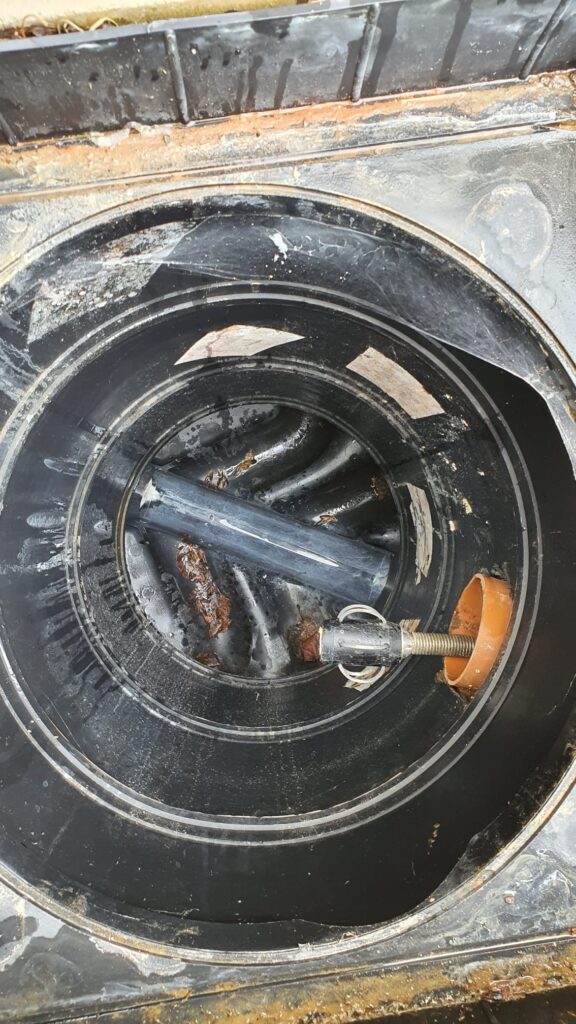
Why Should You Remove the Shower Drain Cover?
Before we dive into the process of removing a shower drain cover, let’s understand why it’s important to do so. Over time, shower drain covers can become clogged with hair, soap residue, and other debris. This buildup restricts water flow, leading to slow draining and potential blockages. By removing the shower drain cover and cleaning it, you can prevent clogs, improve water drainage, and maintain a clean and hygienic bathroom environment.
Tools You Will Need
To remove a shower drain cover, you will need the following tools:
- Screwdriver (flathead or Phillips, depending on the type of screws)
- Pliers
- Old toothbrush or scrub brush
- Mild detergent or bathroom cleaner
- Bucket or container
Step-by-Step Guide: How to Remove a Shower Drain Cover
Follow these steps to successfully remove a shower drain cover:
Step 1: Identify the Type of Drain Cover
Shower drain covers come in various types, including screw-on covers and snap-on covers. Before proceeding, determine the type of drain cover you have to use the appropriate removal method.
Step 2: Remove Screw-On Drain Covers
If your drain cover is secured with screws, follow these steps:
- Use a screwdriver (flathead or Phillips) to unscrew the screws located on the drain cover.
- Place the screws in a safe place to avoid losing them.
- Lift the drain cover gently to detach it from the drain opening.
Step 3: Remove Snap-On Drain Covers
For snap-on drain covers, use the following method:
- Insert a flathead screwdriver or pliers into the gap between the drain cover and the drain opening.
- Gently pry the drain cover upwards to release the snap-on mechanism.
- Lift the drain cover out of the drain opening.
Step 4: Clean the Drain Cover
Once the drain cover is removed, it’s time to clean it thoroughly:
- Fill a bucket or container with warm water.
- Add a small amount of mild detergent or bathroom cleaner to the water.
- Submerge the drain cover in the soapy water and let it soak for a few minutes.
- Use an old toothbrush or scrub brush to scrub away any dirt, hair, or debris from the drain cover.
- Rinse the drain cover with clean water and wipe it dry with a towel.
Step 5: Reinstall the Drain Cover
After cleaning the drain cover, it’s time to reinstall it:
- Align the drain cover with the drain opening.
- For screw-on covers, insert the screws into the designated holes and tighten them using a screwdriver.
- For snap-on covers, press the cover firmly until it snaps into place.
FAQs (Frequently Asked Questions)
Q1: How often should I remove and clean my shower drain cover?
A1: It is recommended to clean your shower drain cover at least once every three months to prevent clogs and maintain optimal water drainage.
Q2: Can I use harsh chemicals to clean the drain cover?
A2: It’s best to avoid harsh chemicals as they may damage the drain cover. Stick to mild detergents or bathroom cleaners for safe and effective cleaning.
Q3: What should I do if the drain cover is stuck?
A3: If the drain cover is stuck, try using a plunger to create suction and loosen it. If that doesn’t work, consult a professional plumber for assistance.
Q4: Are there any preventive measures to keep my shower drain clean?
A4: Yes, you can use a drain strainer or hair catcher to prevent hair and debris from entering the drain. Regularly removing and cleaning the drain cover also helps maintain a clean drain.
Q5: Can I remove a shower drain cover without any tools?
A5: In some cases, you may be able to remove a snap-on drain cover by hand, but it’s generally easier and more efficient to use tools like a screwdriver or pliers.
Q6: Should I wear gloves while cleaning the drain cover?
A6: It’s a good idea to wear gloves to protect your hands from any bacteria or residue on the drain cover. Gloves also provide a better grip when removing and installing the cover.
Conclusion
Knowing how to remove a shower drain cover is a valuable skill that can help you maintain a clean and functional bathroom. By following the step-by-step guide provided in this article, you can easily remove the drain cover, clean it thoroughly, and reinstall it correctly. Remember to clean your shower drain cover regularly to prevent clogs and ensure optimal water drainage. A well-maintained shower drain will contribute to a pleasant and hygienic showering experience.