
100 Common Plumbing Problems
Read about all the Common Plumbing Problems you might come across.
Dripping Tap
Have you ever been irritated by the constant sound of a dripping tap? Not only can it be frustrating, but it can also lead to significant water wastage and increased utility bills. In this article, we’ll explore the causes of a dripping tap, the impact it can have, and how you can fix it yourself or seek help from Portishead emergency plumbers. Additionally, we’ll discuss preventive measures to avoid future dripping tap issues.
Understanding the issue: What is a dripping tap?
A dripping tap is a common plumbing problem where water continuously leaks from the faucet, even when it is turned off. This persistent dripping can occur due to various reasons, including worn-out washers, loose or damaged parts, or high water pressure.
The impact of a dripping tap
A dripping tap may seem like a minor inconvenience, but it can have several negative consequences:
- Water wastage: A steady drip can waste a significant amount of water over time, contributing to overall water scarcity.
- Increased utility bills: The continuous leakage can cause your water bills to skyrocket, impacting your monthly expenses.
- Environmental concerns: Conserving water is essential for our environment. A dripping tap adds to unnecessary water consumption and puts a strain on natural resources.
Fixing a dripping tap

If you’re comfortable with basic DIY tasks, fixing a dripping tap can be done without professional help. Here’s what you’ll need:
- Adjustable wrench
- Screwdriver
- Replacement washers
- Plumber’s tape
Clogged Sink
A clogged sink is an inconvenience that many homeowners face at some point. Whether it’s a kitchen sink or a bathroom sink, a clog can disrupt your daily routine and lead to frustration. Understanding the causes of a clogged sink, learning how to unclog it yourself, and implementing prevention tips can help you maintain a clear and functional sink. In this article, we’ll delve into the various aspects of dealing with a clogged sink and provide you with actionable solutions.
Dealing with a clogged sink can be a hassle, but with a little knowledge and the right tools, you can resolve the issue efficiently. In this article, we’ll explore the causes of sink clogs, identify common signs and symptoms, and guide you through a range of do-it-yourself methods to unclog your sink. Additionally, we’ll share preventative measures to minimize the chances of future clogs. So, let’s dive in!
Before we jump into the plumbing solutions, it’s important to understand what causes a sink to clog in the first place. Several factors can contribute to a clogged sink, including:
- Accumulation of debris and food particles
Food scraps, grease, and other debris can accumulate over time, leading to clogged drains. This is especially common in kitchen sinks where food waste is frequently washed down the drain.

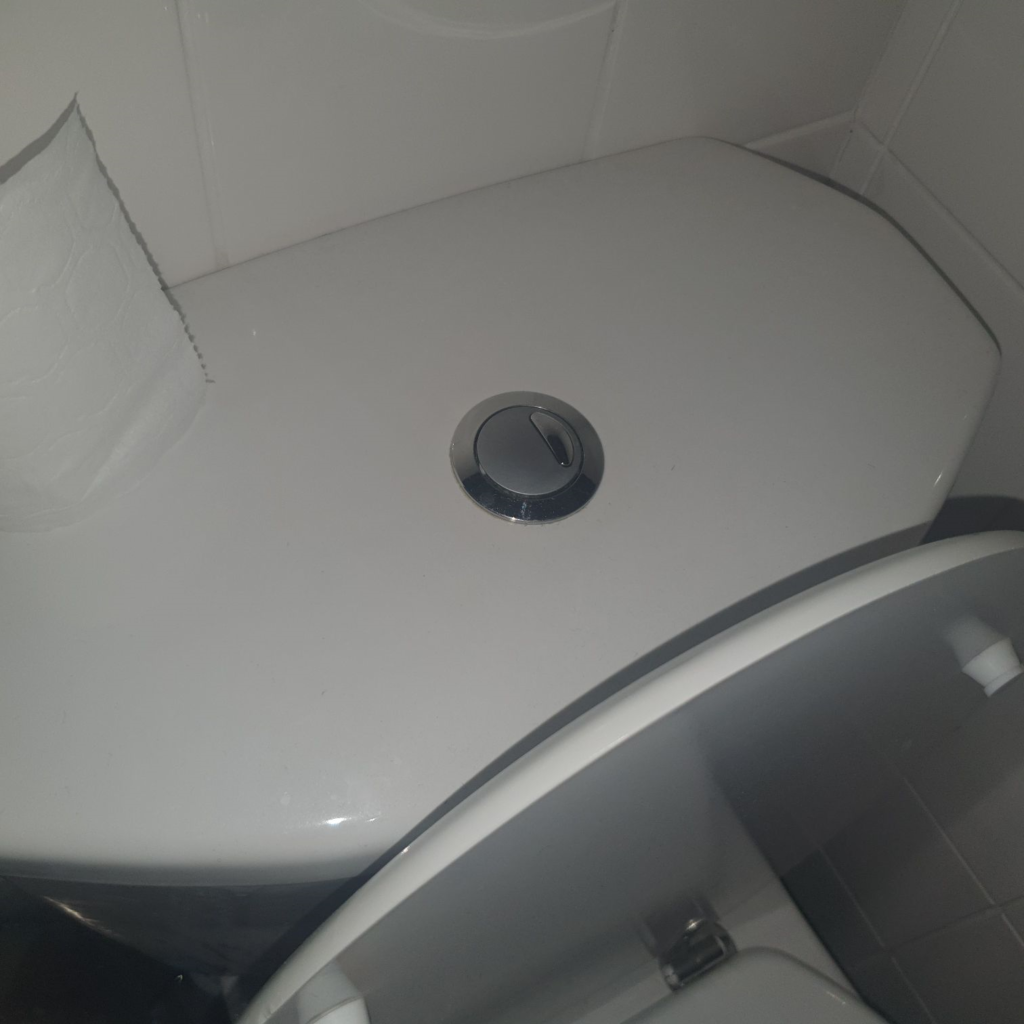
Running Toilet
Is your toilet constantly making a trickling sound? Is the water in your toilet bowl always in motion, even when not in use? If so, you may be dealing with a running toilet. A running toilet is not only an annoyance but can also lead to water waste, increased water bills, and potential water damage if left unaddressed. In this article, we will delve into the causes of a running toilet, discuss the signs to look out for, and provide you with practical plumbing solutions to fix and prevent this common plumbing issue.
A running toilet refers to a situation where the water from the tank continuously flows into the toilet bowl, even when not being flushed. This constant water flow is often accompanied by a hissing or trickling sound. Not only can a running toilet be bothersome, but it can also lead to significant water wastage, which is both environmentally and financially undesirable. By understanding the causes behind a running toilet and implementing the appropriate fixes, you can save water, money, and prevent potential damage.
- Faulty Fill Valve
Another common cause of a running toilet is a faulty fill valve. The fill valve, also known as the ballcock, is responsible for regulating the water level in the tank after each flush. If the fill valve malfunctions, it may not shut off completely, causing water to continuously flow into the bowl. This Fill Valve malfunction leads to a running toilet.
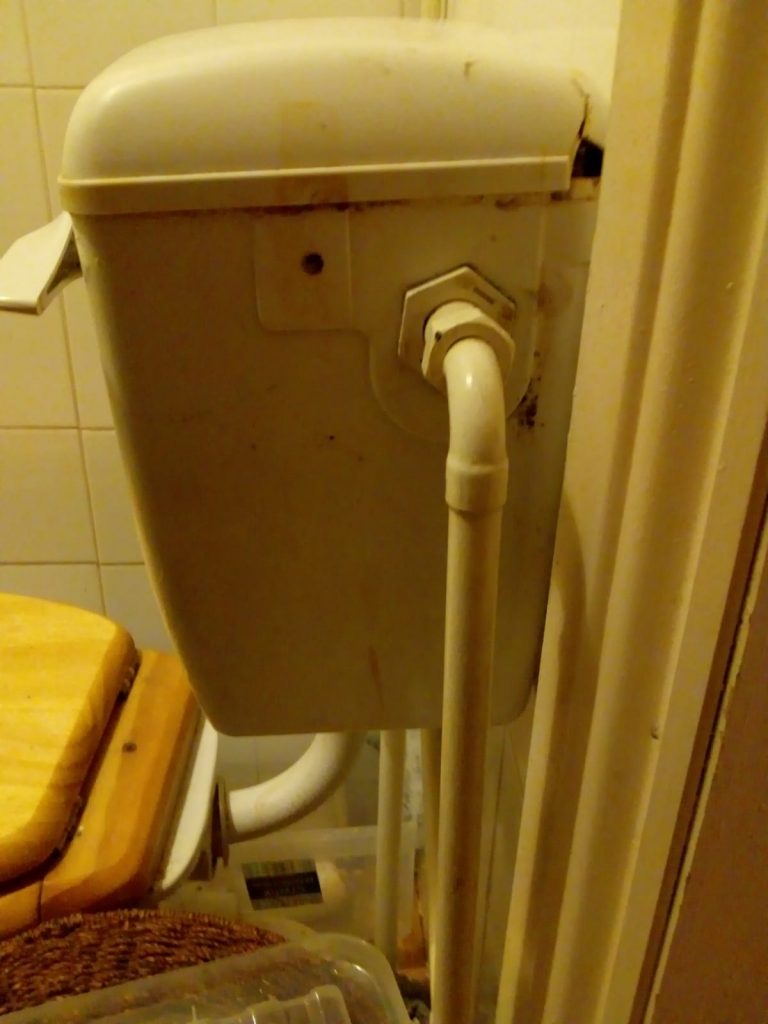
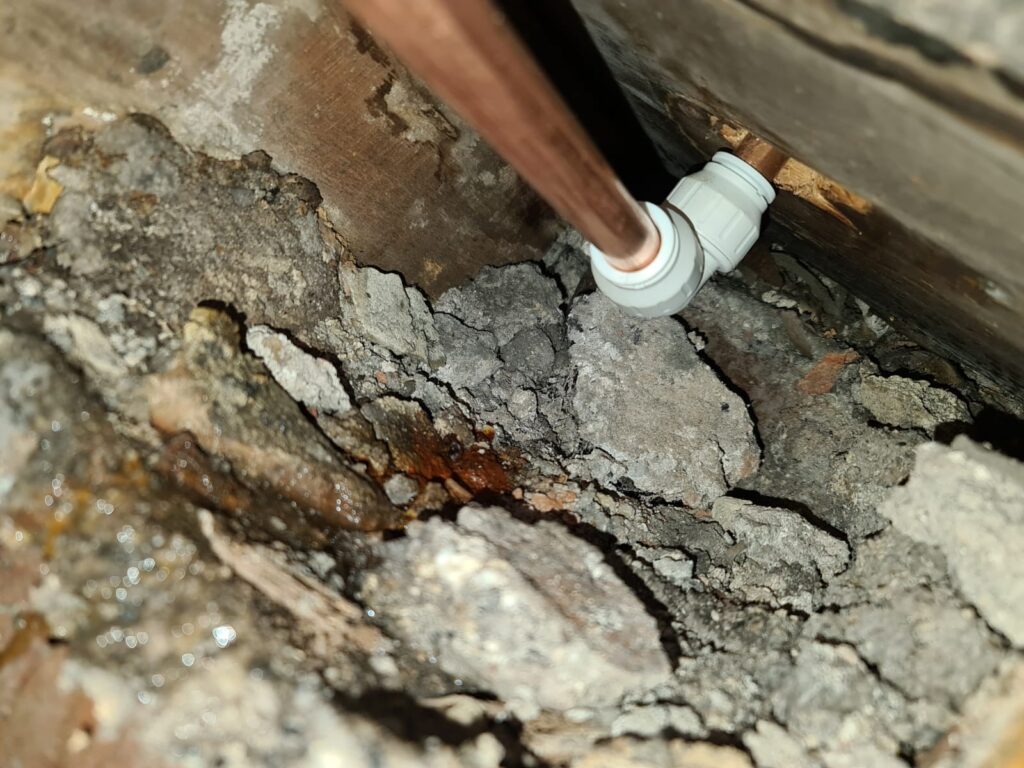
Leaky Pipes
Leaky pipes can be a frustrating and damaging issue for homeowners. When left unattended, they can lead to significant water damage, mold growth, and structural issues. Understanding the causes, signs, and effects of leaky pipes is crucial in order to prevent and fix them promptly. In this article, we will explore the various aspects of leaky pipes, discuss prevention methods, and provide solutions for fixing them.

Explaining common causes of leaky pipes, such as corrosion, high water pressure, freezing temperatures, and improper installation.
- Water Damage
Discussing the potential water damage caused by leaky pipes, including structural damage, ruined belongings, and increased water bills.
- Structural Damage
Highlighting how leaky pipes can lead to structural issues in a building, such as weakened foundations, rotting wood, and compromised integrity.
Providing tips on regular plumbing maintenance practices that can help prevent leaky pipes, including inspecting for leaks, cleaning drains, and ensuring proper pipe connections.
Explaining the significance of monitoring water pressure and how high pressure can contribute to leaky pipes. Offering advice on maintaining optimal water pressure.
Emphasizing the importance of insulating pipes, especially in areas prone to freezing temperatures, to prevent pipe bursts and subsequent leaks.
Outlining step-by-step instructions for fixing minor leaks using common household tools, such as pipe tape, sealants, and pipe clamps. Encouraging readers to exercise caution and seek professional help for complex issues.
Discussing the advantages of hiring a professional plumber near me to handle leaky pipe problems, ensuring long-term solutions and expert advice.
Summarizing the main points discussed in the article and emphasizing the importance of addressing leaky pipes promptly to prevent further damage and expenses.
Low Water Pressure
Water is an essential resource that we rely on for various daily activities, from cooking and cleaning to bathing and irrigation. However, sometimes we may encounter an issue known as low water pressure, which can significantly hinder our ability to perform these tasks efficiently. In this article, we will explore the causes, signs, and solutions for low water pressure, as well as provide useful tips for prevention.
Several factors can contribute to low water pressure. Understanding these causes is crucial in identifying the source of the problem and finding an appropriate solution.
Partially closed valves: In some cases, low water pressure can be attributed to partially closed valves within the plumbing system. These valves, located near fixtures or along the main water line, regulate the flow of water. Accidental adjustments or maintenance work may lead to reduced water pressure. Get Portishead plumbing to fix your Low Water Pressure.
Clogged pipes or faucets: Over time, mineral deposits, rust, or debris can accumulate inside pipes or faucets, obstructing the flow of water. This can result in low water pressure throughout the system.
Municipal water supply issues: Municipalities occasionally face challenges in maintaining consistent water pressure due to repairs, maintenance, or high demand. These temporary disruptions can cause low water pressure in homes and businesses connected to the affected water supply.

Problems with water pressure regulator: The water pressure regulator is a device that controls the water pressure entering a building. If the regulator malfunctions or is incorrectly adjusted, it can lead to low water pressure issues.
Detecting low water pressure is essential for determining the scope of the problem and taking appropriate measures to address it. Some common signs and symptoms include:
Reduced flow from faucets and showerheads: When water pressure is low, you may notice a diminished flow of water from your faucets or showerheads.
Clogged Bathtub Drain
Preventing bathtub drain clogs is easier and more cost-effective than dealing with the aftermath of a clog. By adopting a few preventive measures, you can reduce the likelihood of experiencing a clogged drain. Here are some tips to consider:
- Use a Drain Cover: Placing a drain cover or strainer over your bathtub drain can effectively catch hair and other debris, preventing them from entering the drain pipe. Regularly clean the cover to maintain its effectiveness.
- Hair Removal Practices: Brushing your hair before showering or using a shower cap can significantly reduce the amount of hair that goes down the drain. Additionally, periodically removing hair from the drain cover can prevent hair buildup.
- Avoid Soap Buildup: Opt for liquid soap instead of bar soap, as it produces less residue. Additionally, rinsing the drain with hot water after each use can help flush away any soap residue clinging to the pipe walls.
Determining whether your bathtub drain is clogged is essential before attempting any unclogging methods. Here’s how you can diagnose a clogged drain:
- Slow Drainage: If you notice the water taking longer than usual to drain from your bathtub, it could indicate a partial clog. This is often the first sign of a developing clog.
- Standing Water: A clear indicator of a clogged drain is the presence of standing water in your bathtub.

Leaking Showerhead
A leaking showerhead refers to a situation where water continues to drip or leak from the showerhead even when the water supply is turned off. It can range from a minor annoyance with a few drops to a more severe leak that causes significant water wastage. Addressing the issue promptly is essential to prevent further damage and conserve water.
- Loose Connections
One of the most common causes of a leaking showerhead is loose connections. Over time, the connections between the showerhead, shower arm, and water supply pipe may become loose due to regular use or insufficient tightening during installation. This can result in water seepage and leaks around the joints.
- Damaged or Worn-out Washer
Another frequent culprit behind a leaking showerhead is a damaged or worn-out washer. The washer, also known as a rubber O-ring, is responsible for creating a watertight seal between the showerhead and the shower arm. If the washer deteriorates or gets damaged, it can cause water to leak around the showerhead.
- Faulty Showerhead

Sometimes, the showerhead itself may be faulty, leading to leaks. Manufacturing defects, cracks, or damage to the internal components of the showerhead can cause water to escape through unintended pathways. In such cases, fixing the showerhead may be necessary to resolve the leak.
Identifying the signs of a leaking showerhead is crucial in addressing the issue promptly.
Overflowing Toilet
- Clear the Blockage
A common cause of toilet overflow is a clog in the drainpipe. To clear the blockage, you can use a plunger or a plumbing auger. Start by using a plunger to create a seal around the drain opening. Push the plunger up and down vigorously to dislodge the clog. If the plunger doesn’t work, try using a plumbing auger by inserting it into the toilet’s drainpipe and rotating it to break up the blockage.
- Clean up the Mess
Once you have resolved the overflowing issue, it’s important to clean up the mess immediately. Use absorbent towels or mops to soak up the water on the floor. Thoroughly disinfect the affected area with a suitable cleaner to prevent the growth of bacteria or mold. Remember to wear gloves and protective clothing while handling potentially contaminated water.
While dealing with an overflowing toilet can be inconvenient, taking preventive measures can minimize the chances of it happening again in the future.
Regularly inspect your toilet for any signs of damage or wear. Ensure that the components, such as the flapper valve and fill valve, are functioning properly. If you notice any leaks or unusual noises, consider repairing or replacing the faulty parts promptly.
Toilets are designed to handle human waste and toilet paper. Flushing items like sanitary products, wipes, or paper towels can lead to clogs and eventually cause an overflow. Educate everyone in your household about what should and should not be flushed down the toilet.
High water pressure can put stress on your plumbing system, increasing the likelihood of a toilet overflow. Consider installing a pressure regulator to maintain a safe and steady water pressure.
Slow-Draining Sink
When you notice your sink taking an eternity to drain, it’s essential to understand the underlying causes before attempting any fixes. A slow-draining sink can be attributed to various factors, including the accumulation of debris, a clogged P-trap, a blocked vent pipe, or mineral buildup.
- Accumulation of Debris
One of the primary reasons for a slow-draining sink is the accumulation of debris, such as food particles, grease, and hair. Over time, these substances can accumulate and form a blockage within the drainage system, hindering the smooth flow of water.
- Clogged P-Trap
The P-trap, a curved pipe beneath the sink, is designed to prevent unpleasant odors from entering your living space. However, it can also become a common location for debris buildup, leading to a slow drain. If the P-trap is clogged, it restricts the water flow and results in a slow-draining sink.

- Blocked Vent Pipe
The vent pipe, typically located on the roof, plays a crucial role in maintaining proper drainage flow. It allows air to enter the plumbing system, preventing airlock and enabling wastewater to flow freely. When the vent pipe becomes blocked or obstructed, it disrupts the balance of air pressure, causing the sink to drain slowly.
- Mineral Buildup
In areas with hard water, mineral buildup can occur over time. Minerals like calcium and magnesium can accumulate within the pipes, narrowing the diameter and impeding water flow. This can lead to slow-draining sinks and other plumbing issues if not addressed promptly.
Water Heater Not Producing Hot Water
Are you frustrated with a water heater that’s not producing hot water when you need it the most? A malfunctioning water heater can be a significant inconvenience, especially during colder months. In this article, we’ll explore the common causes behind a water heater not producing hot water and provide troubleshooting steps to help you resolve the issue. Additionally, we’ll share some maintenance tips to prevent future problems. Let’s dive in and get your hot water flowing again!
- Faulty Heating Element
Electric water heaters utilize heating elements to warm the water. If these elements become faulty or fail, the water heater won’t be able to produce hot water. Over time, heating elements can deteriorate or burn out, requiring replacement.

- Sediment Buildup
Minerals and sediment can accumulate at the bottom of the water heater tank over time. This sediment buildup can insulate the heating element or interfere with heat transfer, resulting in inadequate hot water production. It is a common issue in areas with hard water.
- Thermostat Problems
The thermostat in your water heater controls the temperature of the water. If the thermostat malfunctions, it may not signal the heating elements to activate, leading to a lack of hot water. Faulty thermostats may need calibration or replacement.
- Gas Supply Issues
Gas water heaters rely on a steady supply of natural gas or propane to heat the water. If there are problems with the gas supply, such as a closed valve or gas line issues, the water heater won’t be able to produce hot water. Gas supply issues should be addressed by a qualified professional.
- Electrical Malfunctions
For electric water heaters, electrical malfunctions can prevent the heating elements from working correctly.
Leaking Water Heater
A leaking water heater can be a frustrating and potentially hazardous problem for homeowners. Water damage from a leak can lead to structural issues, mold growth, and increased utility bills. It is crucial to address the issue promptly to minimize the damage and restore the functionality of your water heating system.

Before diving into the causes and solutions, it’s essential to understand what a leaking water heater entails. A leaking water heater refers to any instance where water escapes from the tank or associated plumbing connections. Leaks can occur in various locations, including the drain valve, temperature and pressure relief valve, or even cracks in the tank itself.
Several factors can contribute to a leaking water heater. Some common causes include:
- Corrosion and Rust
Over time, the tank’s interior can corrode, leading to tiny holes or cracks through which water can escape.
- Excessive Pressure
High water pressure can strain the tank, causing leaks to develop. Faulty pressure relief valves can also contribute to pressure-related leaks.
- Loose Connections
Poorly tightened plumbing connections or loose fittings can cause water to leak from the water heater.
Identifying the signs and symptoms of a leaking water heater is crucial for early detection and intervention. Look out for the following indicators:
- Water Puddles or Dampness
Observe your water heater and its surroundings for puddles, moisture, or damp spots, indicating a leak.
- Rusty Water
If you notice rusty or discolored water flowing from your faucets, it could be a sign of corrosion within the water heater.
- Strange Noises
Unusual sounds, such as hissing or popping noises, coming from the water heater could indicate a problem that needs attention.
Frozen Pipes
When the temperature drops below freezing, one of the most common household issues that can arise is frozen pipes. Frozen pipes not only disrupt your water supply but can also lead to costly repairs and extensive damage if not addressed promptly. In this article, we will explore the causes of frozen pipes, signs to look out for, preventive measures, and effective ways to thaw frozen pipes safely. So, let’s dive in and learn how to protect your plumbing system during the cold winter months.
Detecting frozen pipes early is crucial in preventing major damage. Here are some common signs to watch out for:
- Decreased water flow or no water at all: If you turn on a faucet and only a trickle or no water comes out, it’s likely a sign of frozen pipes.
- Unusual odors or discoloration in tap water: Frozen pipes can cause unpleasant smells or even discoloration in your water due to trapped debris or chemicals.
- Visible frost on exposed pipes: If you notice frost or a layer of ice on your pipes, it indicates that they are frozen.

Other Common Plumbing Problems you could encounter
- Toilet won’t flush
- Leaking washing machine hose
- Clogged garbage disposal
- Leaky hose bib (outdoor faucet)
- Smelly drains
- Leaking dishwasher
- Clogged shower drain
- Leaking toilet tank
- Water hammer (loud banging noise in pipes)
- Leaking radiator valve
- Leaking outdoor sprinkler system
- Overflowing septic tank
- Clogged floor drain
- Leaking valve under the sink
- Leaking refrigerator water line
- No hot water in certain faucets
- Toilet bowl fills with water but won’t flush
- Leaking air conditioner condensate line
- Toilet constantly running
- Leaking pressure relief valve on water heater
- Clogged toilet
- Leaking shower diverter valve
- Water leaks from the base of the toilet
- Burst pipe
- Leaky outdoor hose connection
- Toilet flapper not sealing properly
- Clogged bathtub jets
- Leaking water filtration system
- Toilet bowl water level too low
- Blocked sewer vent pipe
- No water coming out of faucet
- Leaking basement sump pump
- Clogged kitchen drain
- Leaking humidifier water line

More Common Plumbing Problems
- Slow-flushing toilet
- Leaking water softener
- Clogged laundry drain
- Leaking shower pan
- Noisy toilet (gurgling or bubbling sounds)
- Leaking reverse osmosis system
- Water leaks from the base of the sink
- Sewage smell in the bathroom
- Leaking bathtub overflow drain
- Clogged sprinkler heads
- No water in the whole house
- Leaking toilet flush valve
- Clogged roof drain
- Leaking bathroom exhaust fan vent
- Water leaks from the base of the shower
- Leaking pool pump
- Clogged bathroom sink
- Leaking dishwasher drain line
- No water in one bathroom
- Leaking shut-off valve
- Leaking basement floor drain
- Water leaks from the base of the tub
- Slow-draining shower
- Leaking water fountain
- Clogged outdoor storm drain
- No water in the kitchen sink
- Leaking septic tank distribution box
- Water leaks from the base of the bidet
- Slow-flushing urinal
- Leaking gas water heater
- Leaking washing machine supply line
- No water in the shower
- Leaking outdoor pond pump
- Water leaks from the base of the outdoor faucet
- Slow-draining laundry sink
- Clogged basement floor drain
- Leaking outdoor misting system
- No water in the bathtub
- Leaking bar sink drain pipe